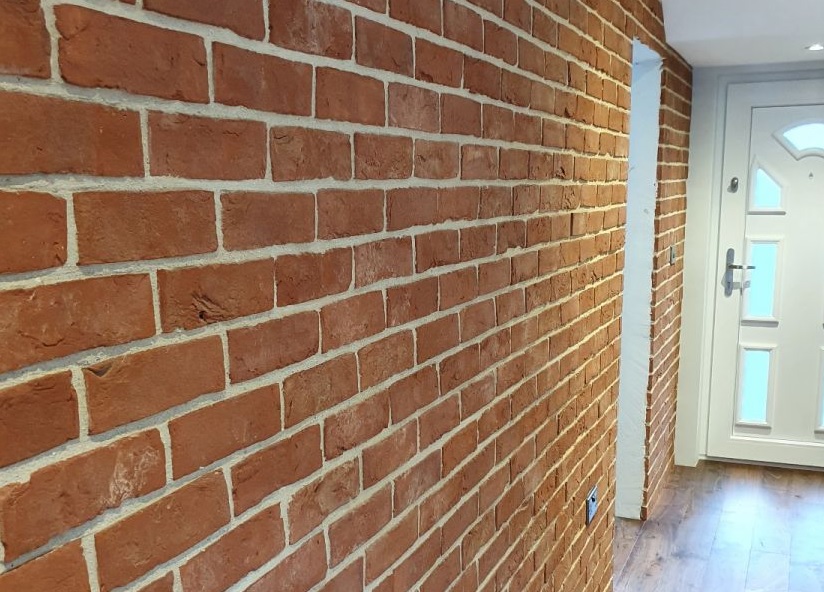
Installing Brick Slips in 5 Simple Steps
Reading time: 5 minutes
Are Brick Slips easy to fit?
Brick Slips can be fitted by most people, even those with minimal experience of DIY, and as with any home improvement project, it’s all about preparation. We’ve listed the tools you’ll need below, but for installing Brick Slips you will also need the following:
If you need to know more, we’ve also put together an introduction to Brick Slips and the styles available.
How do you install a Brick Slip? - tools you’ll need:
As you prepare for installing Brick Slips you may find there are other tools and methods you’re more comfortable and used to using. For guidance, we suggest the following:
-
Floor covering
-
Face mask/protective eyewear
-
Plumb line
-
Adhesive spreader
-
Pointing trowel
-
Stiff bristled/wire brush
- Step 1 - Preparing a wall
- Step 2 - What do you use to stick Brick Slips?
- Step 3 - Setting your first Brick Slips
- Step 4 - Brick Slip spacers
- Step 5 - Applying Brick Slip mortar and pointing
How to measure for Brick Slips
Aside from the thickness, Brick Slips have the same length and width dimensions of a standard brick, so you can use our Brick Calculator to work out the number you need for coverage. However, it’s important to add a further 10% of Brick Slips in order to cover any additional cutting or potential damage and wastage.
Cutting a Brick Slip
You will need to cut a Brick Slip at various points such as wall edges and corners. This can be done easily with a tile cutter, because the thickness of a Brick Slip is closer to a tile than a standard brick.
Do Brick Slips need sealing?
There is no need to protect Brick Slips, especially when fitted for interior walls. For areas of extreme temperatures or a lot of water splashing, it is worth checking manufacturer’s information and advice.
You can order everything you need for installing interior Brick Slips, and other bricks and blocks, from us. You can also order Brick Slip samples to help you find the right style.
Disclaimer: The information contained on this page is intended as an overall introduction and is not intended as specific advice from a qualified professional. Travis Perkins aims to avoid, but accepts no liability, in the case that any information stated is out of date.
Always refer to the manufacturer's guidance and installation instructions.


