


Painting Plasterboard: Tips & Tricks
Reading time: 4 minutes
Can you paint straight onto plasterboard?
Yes, you can paint plasterboard. However, there are some key considerations to factor in before starting this decorating task.
Take note that standard plasterboard is not waterproof. So, you should skim the plasterboard in rooms like bathrooms and kitchens before painting the material to prevent it from becoming damaged from water.
You can save time and effort here by decorating rooms in a property that has a lot of water and moisture with water-resistant plasterboard and then enhancing the material with waterproof paint.
All plasterboard should be sealed and primed before the material is painted too. Paint will be absorbed into unsealed plasterboard in an uneven manner, which can cause a patchy finish or paint peeling off soon after the work is complete.
Here are some other tips to make sure you always prepare properly before painting plasterboard:
-
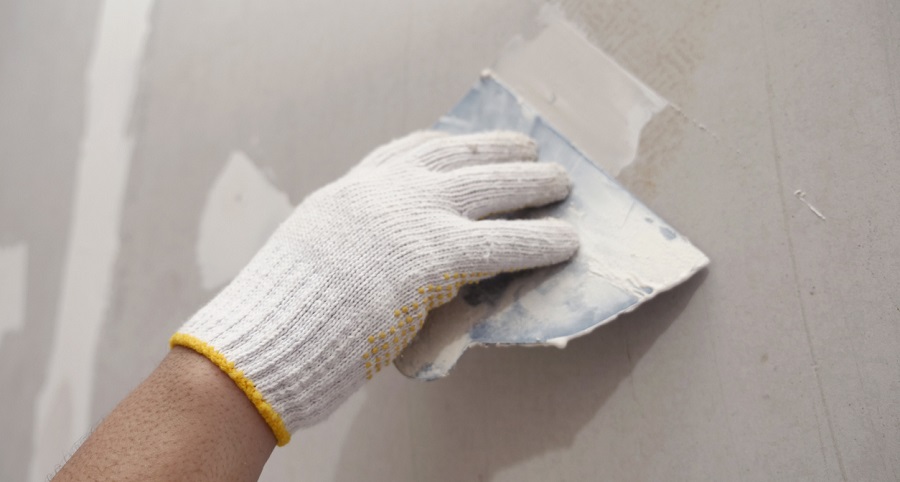
Address any cracks, dents or screws which are protruding from the plasterboard before you begin painting the material. Leaving this damage untreated will just lead to complications further down the line of the decorating job.
-
If you want to paint directly onto plasterboard, joints between the boards and any screw holes will need to be covered using a jointing knife and joint filler.
-
Apply a mist coat with watered-down emulsion before new plasterboard is painted, so that the paint will adhere to the plaster.
-
Make sure the plasterboard is clean before it is painted for a smooth surface to work with. Dust can be cleared using a brush, while wiping the plasterboard with a damp cloth will complete the preparations.
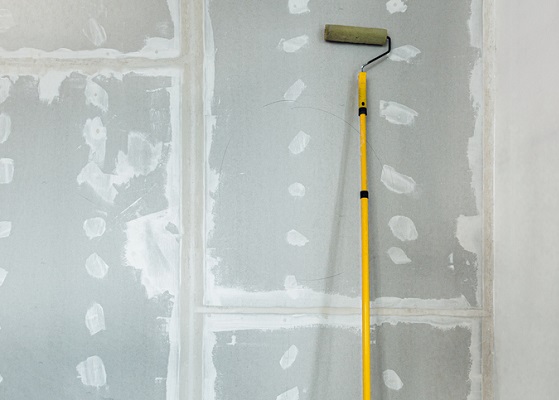
Step-by-step guide on how to paint plasterboard
To actually paint plasterboard, always make sure you get an even application by only ever using high-quality brushes and rollers.
With these tools in hand, follow these steps to get the best results each time:
1. Use a brush to create a border around the plasterboard being decorated, by painting any edges and corners where a wall meets a skirting board.
2. Apply paint to the rest of the surface with a roller, using either a V or W pattern from the top corner of the plasterboard and working across.
3. Allow time for the first coat to dry and then add a second coat using the same technique set out in steps one and two. A third coat may also be required, as the aim is to have a solid colour once the work is finished.
You should now have the knowledge to achieve fantastic results every time you work on plasterboard that can be painted. Make sure to browse through other guides in our handy Trade Corner for more expert decorating tips.