


Free Click & Collect
Within One Hour

Reading time: 7 minutes
Laying paving slabs requires the right equipment to ensure a professional and long-lasting finish. Below is a list of essential tools and materials you need to lay paving slabs effectively:
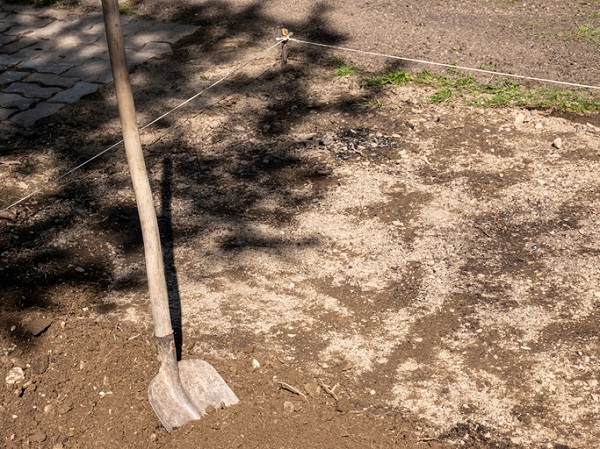
String Line and Pegs
Cement Mixer (optional)
Rake
Screed board
Bedding Material (Sharp Sand or Mortar)
Jointing Compound or Sand
Slurry primer (if laying porcelain paving or other non-porous stone)
Protective Gear (Gloves, Safety Glasses)
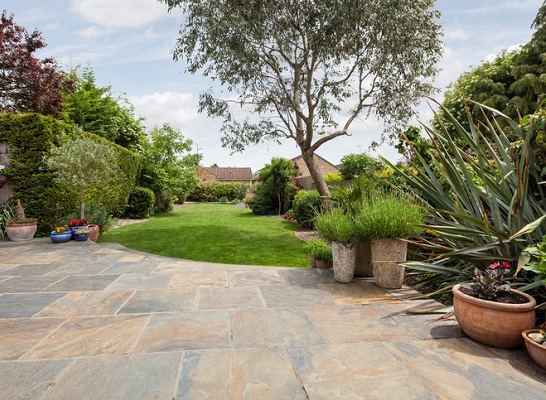
Laying patio paving slabs can spruce up an outdoor space, creating a practical and visually appealing area for relaxation and entertainment. By carefully planning the layout, preparing the ground, and selecting the right materials, you can achieve a long-lasting finish that will enhance the functionality of any outdoor living space for years to come. Before you start, gather all necessary materials and tools - being prepared with everything to hand will stand you in good stead and, hopefully, save time. Here are the steps for laying slabs:
The first step in how to lay paving slabs is to measure and mark out the area. Begin by determining the dimensions of your patio. Multiply the length and width measurements to get the total area in square metres. This will help you calculate how many paving slabs, as well as the quantities of sand, cement, and mortar, you'll need for your base. Use stakes and string lines to outline the space, ensuring you account for pathways, garden beds, and other features. Accurate measurements help in estimating the project's cost and duration, preventing interruptions. For more tips and layout ideas for paving slabs, take a look at our article on patio paving ideas.
Additionally, it's important to carefully assess the slope and drainage of the area to prevent any issues with water pooling, which can cause damage over time.
Before laying your paving flags, it’s important to prepare the area. After you’ve marked out the area, dig out to a depth of approximately 150mm (6 inches). This depth accounts for accommodating the sub-base, mortar, as well as the thickness of the paving flags.
It's important to clear any roots, rocks, or debris that could potentially cause issues with the flags in the future. Thorough preparation is key to establishing a solid foundation, which will help minimise the chances of the flags shifting or developing cracks over time.
Laying a solid sub-base is crucial for the longevity of a patio. Begin by spreading a layer of MOT Type 1 sub-base material across the dugout area. Ideally, the layer should be around 100mm (4 inches) deep, providing a solid foundation. Compact the sub-base using a wacker plate to create a firm, even surface.
The sub-base plays an important role in distributing the load evenly, it helps prevent sinking and ensures stability for the paving surface. Additionally, a well-compacted base layer not only enhances drainage by minimising water accumulation but also helps to prevent weed growth.
It’s recommended to use one part cement with four parts sharp sand, adding water gradually until you achieve a consistent, workable mixture. Use a cement mixer or a wheelbarrow and spade for this task.
Properly mixed mortar provides a strong bond between the slabs and the sub-base, helping them to stay in place.
Something to bear in mind is the type of paving slab you use. If you choose a non-porous material, such as porcelain, it is recommended to use a slurry primer applied to the underside of each slab for best adhesion. Do always refer to any manufacturer's advice and guidelines to be sure you are installing your pavers correctly.
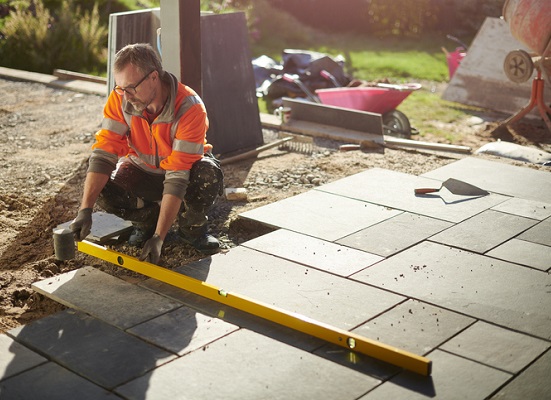
Now it’s time to lay the paving slabs. Start from one corner and work your way across the area. Apply a layer of mortar onto the sub-base, around 30-40mm (1-1.5 inches) thick. Place the slab on top and gently tap it with a rubber mallet to level it. Leave a gap of about 10mm (0.4 inches) between each slab for jointing.
Regularly check the alignment and level of the slabs using a spirit level. If cutting is required, refer to our article on how to cut paving slabs.
Allow the mortar to dry completely before using the patio. This typically takes 24-48 hours, depending on the weather conditions and manufacturers guidance. Avoid walking on the slabs during this period to prevent shifting or misalignment. When laying paving slabs on soil, extra care must be taken to compact the base properly.
Pointing the slabs is an essential step to ensure stability and prevent weed growth. Fill the gaps between the slabs with a mortar mix or jointing compound. Use a pointing trowel to press the mortar into the joints, creating a smooth finish.
Sealing the slabs protects them from stains, weathering, and moss growth. Choose a sealant suitable for the type of slabs you're using. Apply the sealant evenly across the surface, following the manufacturer’s instructions.
Sealing is particularly beneficial for porous materials like natural stone. Remember, thorough preparation and careful execution are key to achieving a professional finish. If you need further assistance, read our article on sealing porcelain tiles.
Properly laying paving slabs involves diligent preparation and the use of appropriate materials to ensure lasting results. We hope these guidelines help you create patios that not only look great but also stand the test of time.
For stable and durable paving, begin with a strong foundation by layering compacted hardcore or crushed stone (about 100mm thick). Add a layer of mortar for secure bedding and precise levelling. If you choose a non-porous stone, like porcelain paving, a slurry primer is recommended for best adhesion. Always refer to the manufacturer's instructions for best results. Extra care is required when laying slabs on soil for stability.
Laying paving slabs directly on soil isn't ideal for durability. Soil lacks stability, leading to shifting or sinking. A solution is to add a sub-base for support and even weight distribution. Also include sand for stability and drainage to protect the patio long-term.
To prepare the ground for patio slabs, outline the area, remove turf and topsoil, compact the subsoil, add a sub-base layer of hardcore or crushed stone, and top with mortar.
While laying paving slabs without cement is possible, using a cement-based mortar mix can greatly improve the patio's stability and lifespan. Cementing the slabs secures them in place, reducing the risk of shifting. A typical mortar mix includes four parts sharp sand to one part cement, forming a strong bond that connects the slabs to the sub-base for lasting durability.
Disclaimer: The information contained on this page is intended as an overall introduction and is not intended as specific advice from a qualified professional. Travis Perkins aims to avoid, but accepts no liability, in the case that any information stated is out of date.
Always refer to the manufacturer's guidance for installation instructions and product maintenance.